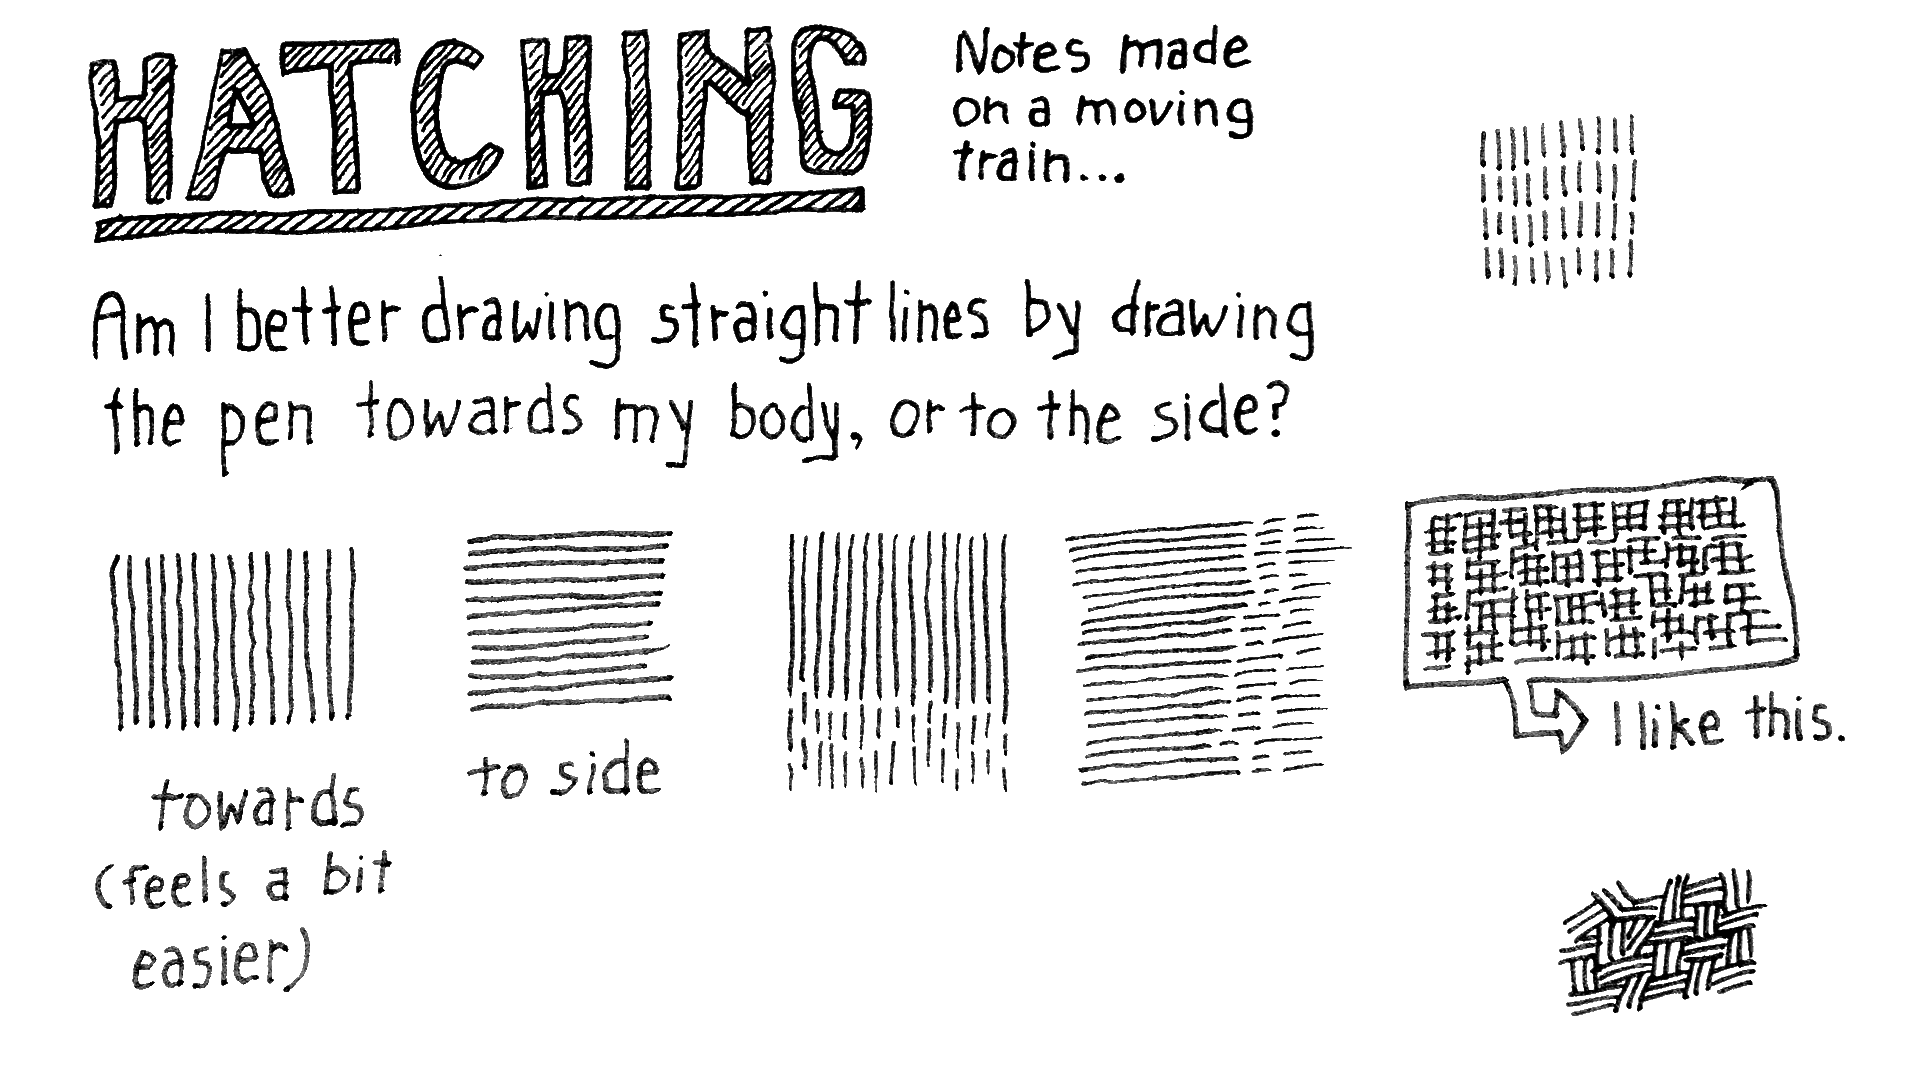
Hatching practice
I’ve always been drawn to hatching as a style. Whilst it is clearly an abstraction, symbolic and not a literal depiction, since we don’t actually see hatching, it somehow delivers a vivid and lifelike portrayal of real objects. Look at this drawing by Peter Paul Rubens, for example:
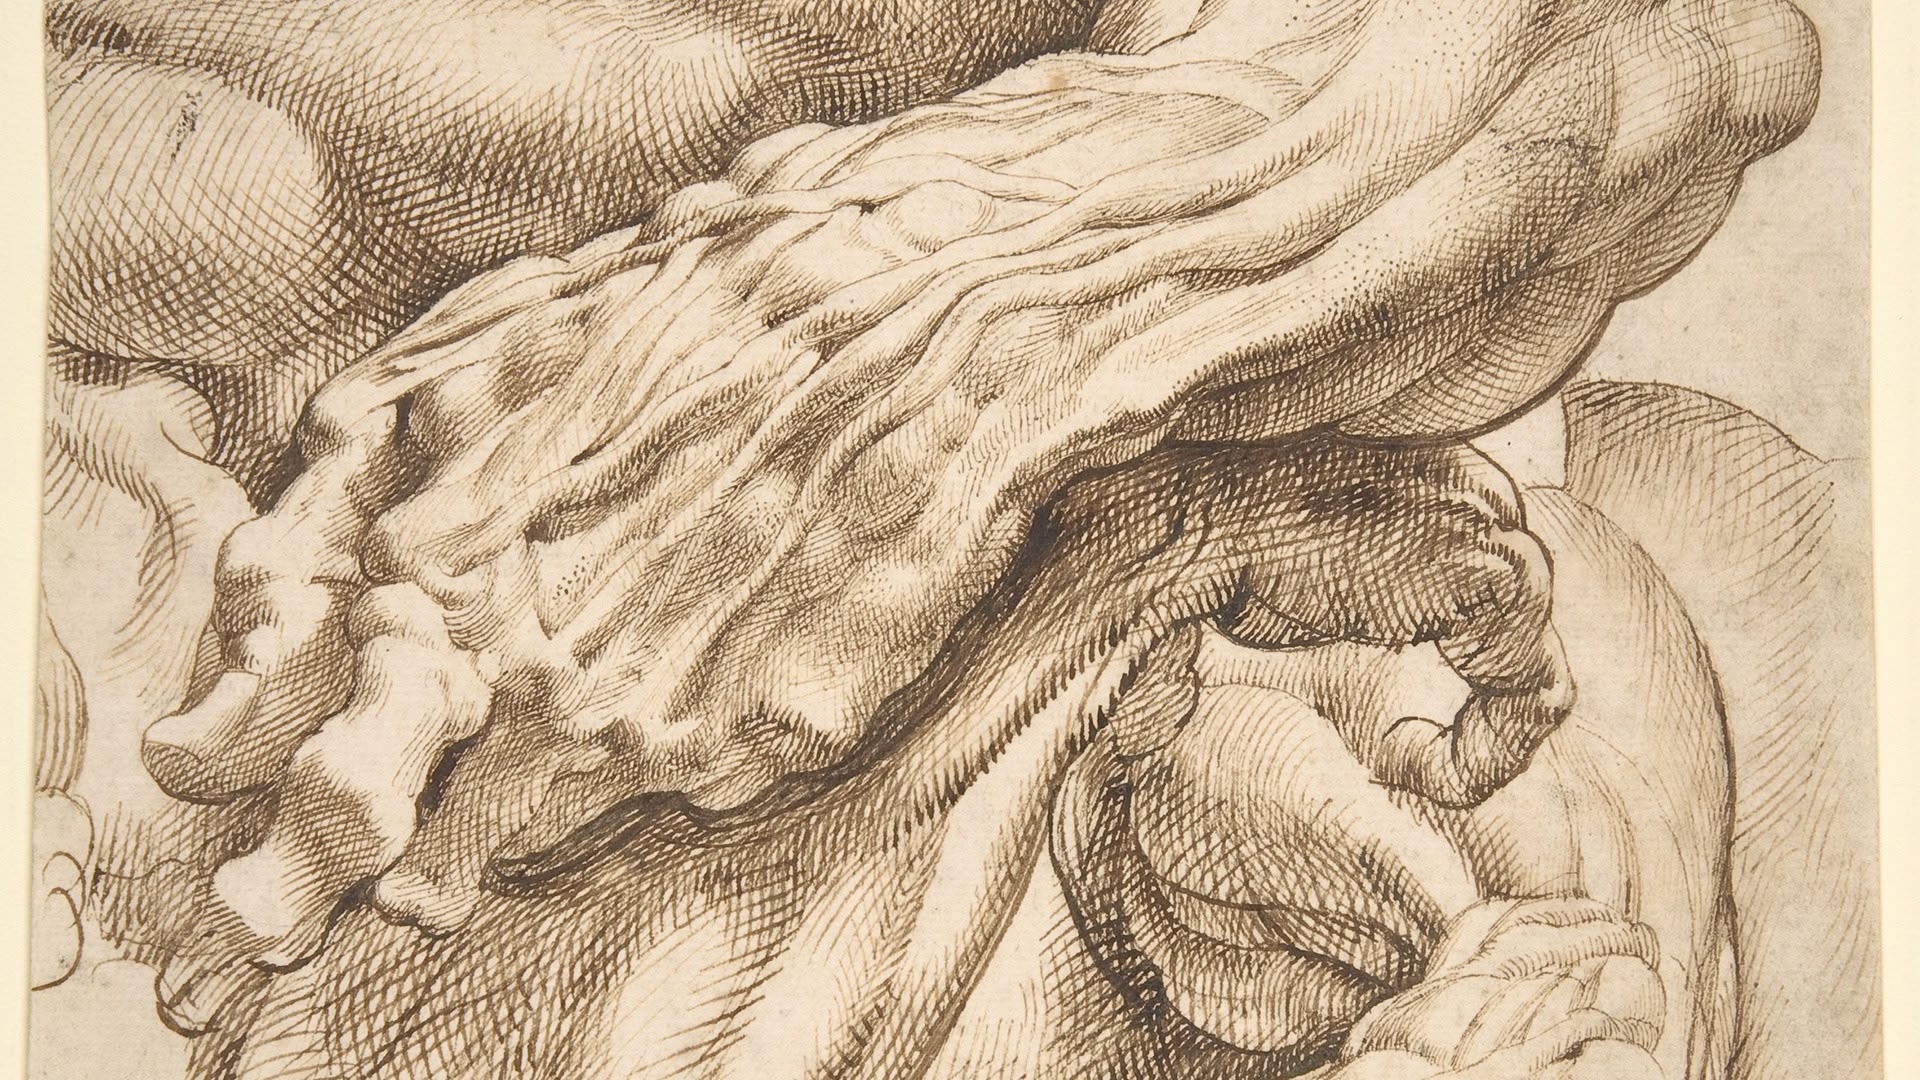
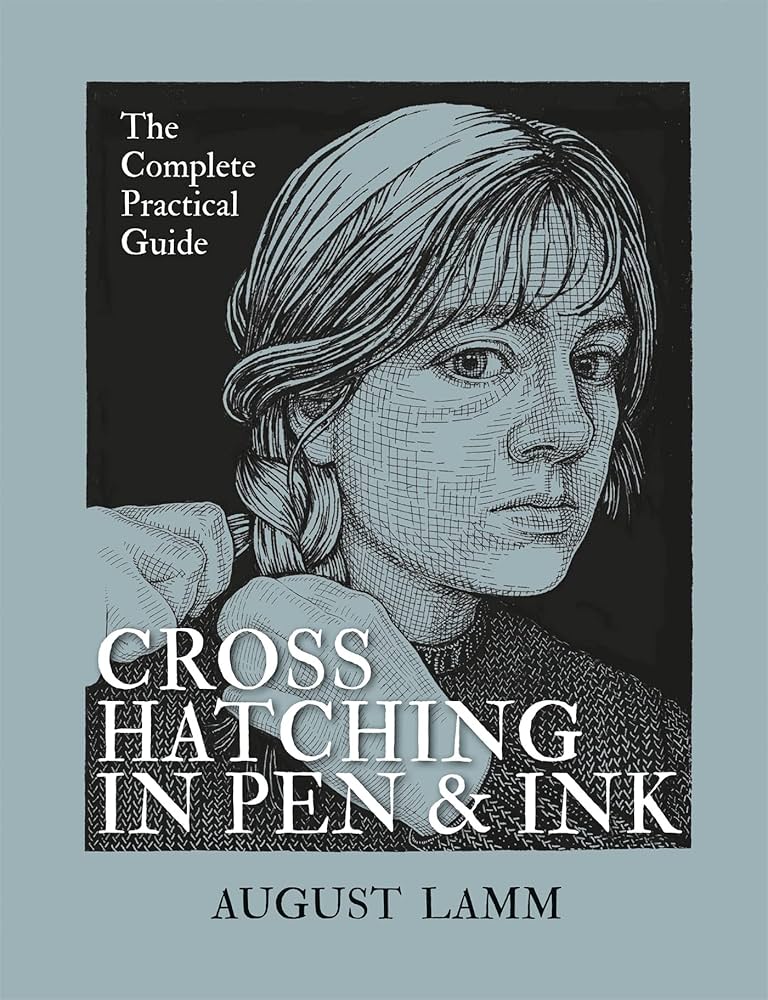
Wow. Only using lines on paper, he has created a very three dimensional thing, you can almost feel the bumps and textures. Wouldn’t it be great to be able to draw like that? To that end, I recently got the ebook version of Cross Hatching in Pen & Ink by August Lamm. It’s a pretty good book, short and quick to read. One of the main takeaways for me was to draw pencil “shadow lines” before doing cross-hatching, to get the shadows right. It’s a simple thing but I’ve not done it before and I think it’s a really good technique.
Cross hatching practice
To make the most of my time during my morning commute, I draw. You can see lots of examples on this site. I usually start drawing straight away, without any references. This means that my drawings tend to be a bit crappy, especially faces and bodies, which I am very bad at drawing from memory. So, I need to get better at that. And the way to do that is actually quite simple. The way to improve in anything is deliberate practice. I need to draw from references or life, rather than just doodling. I can’t practically draw from references on the train (it’s hard enough as it is, the train is moving and I am often standing up) but I could do pencil outlines at other times, and then do the pen line work and hatching on the commute. So that is what I have done.
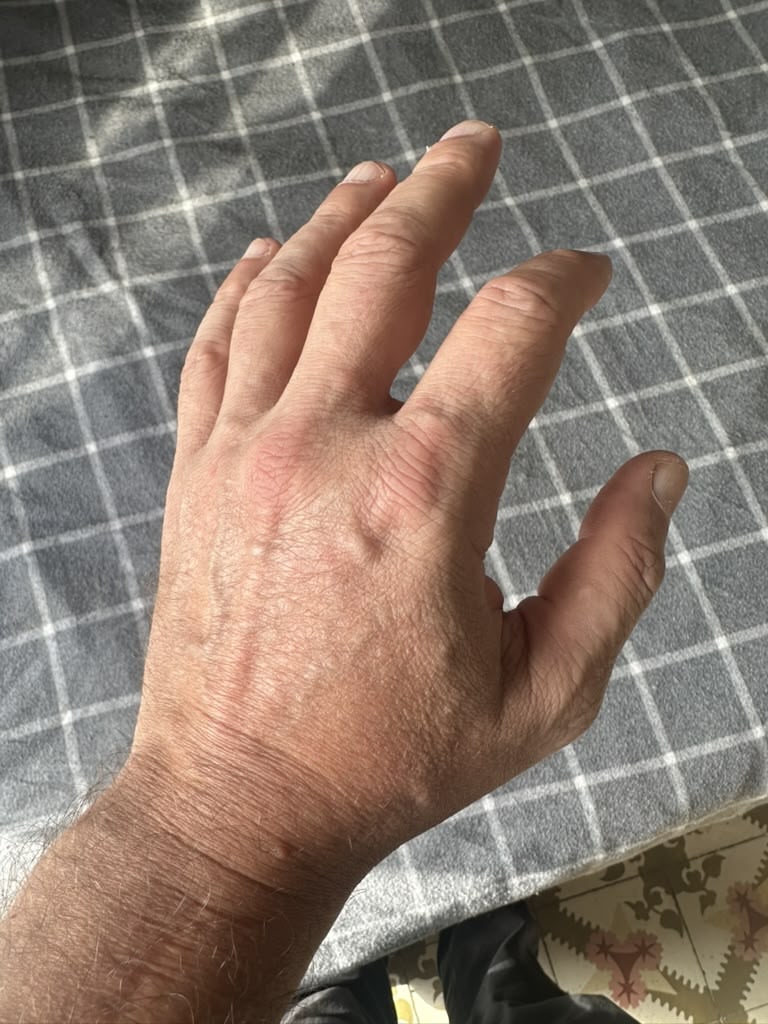
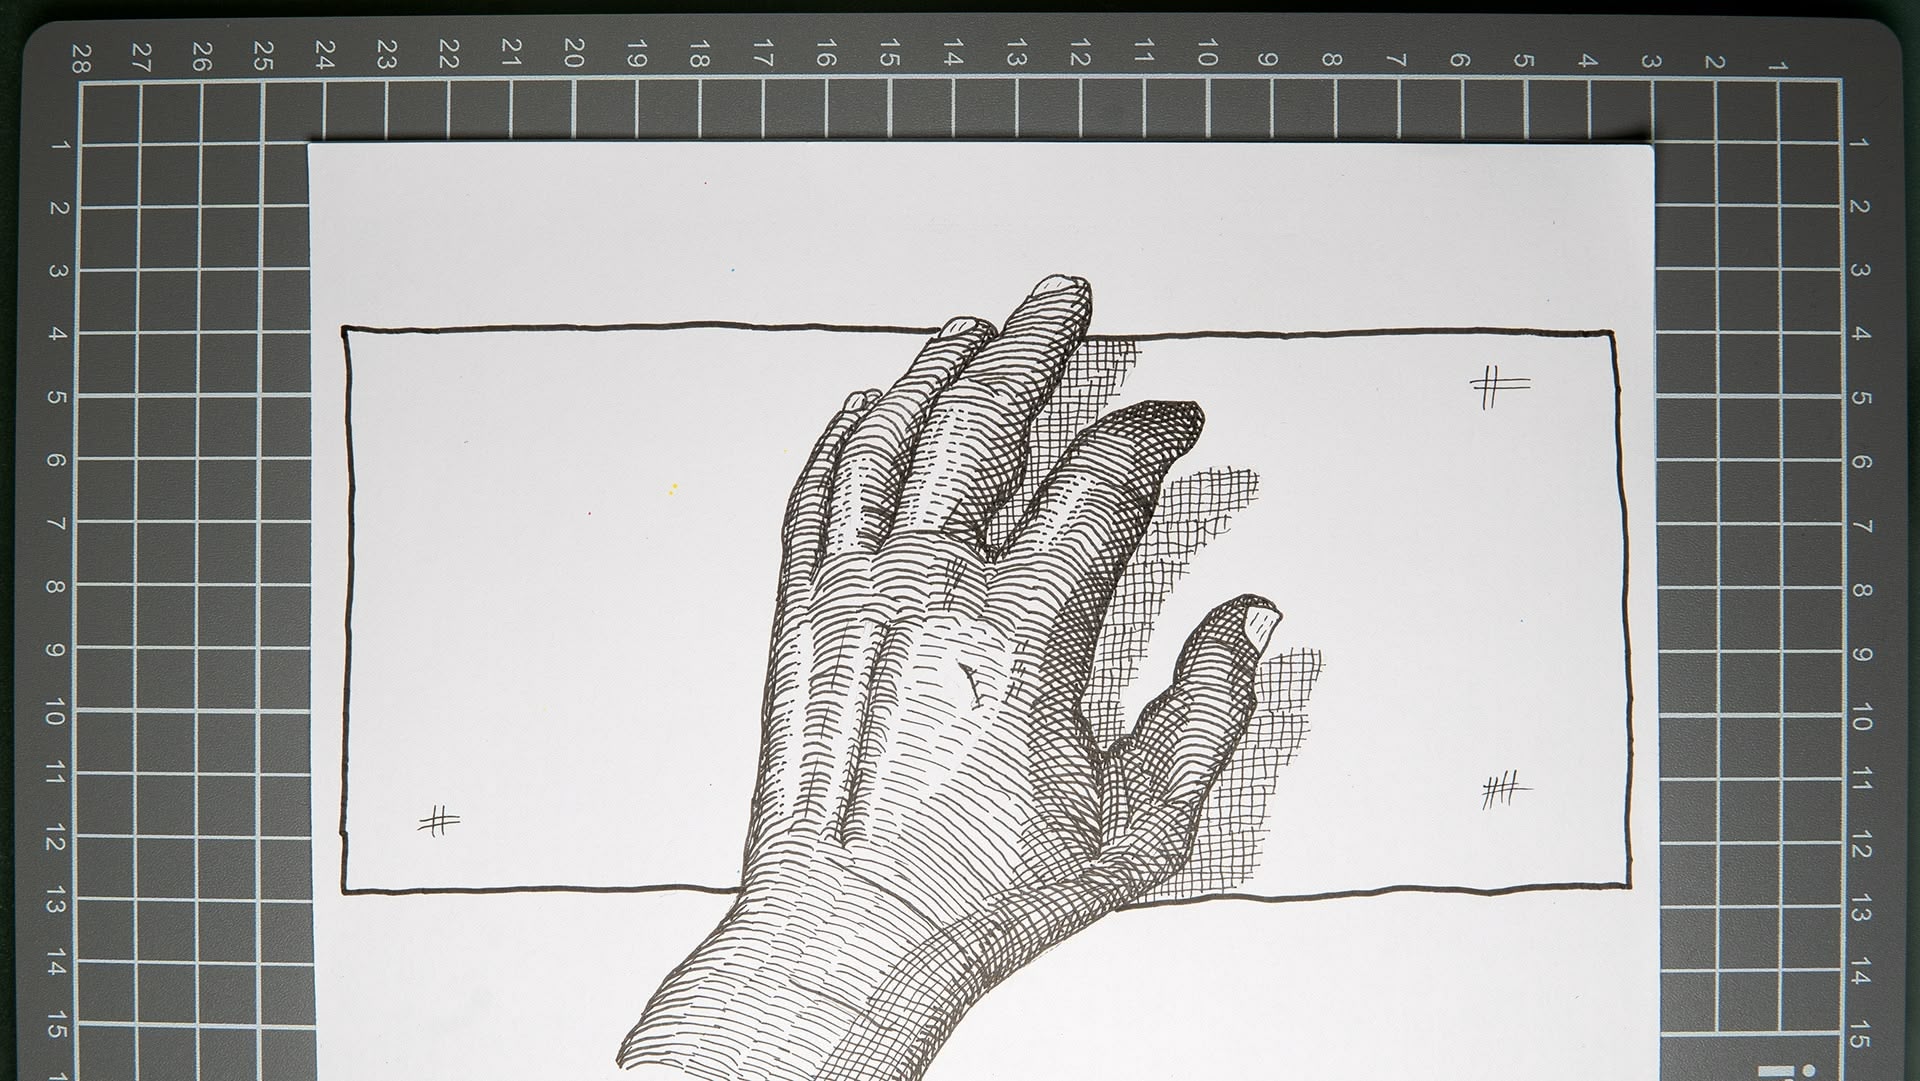
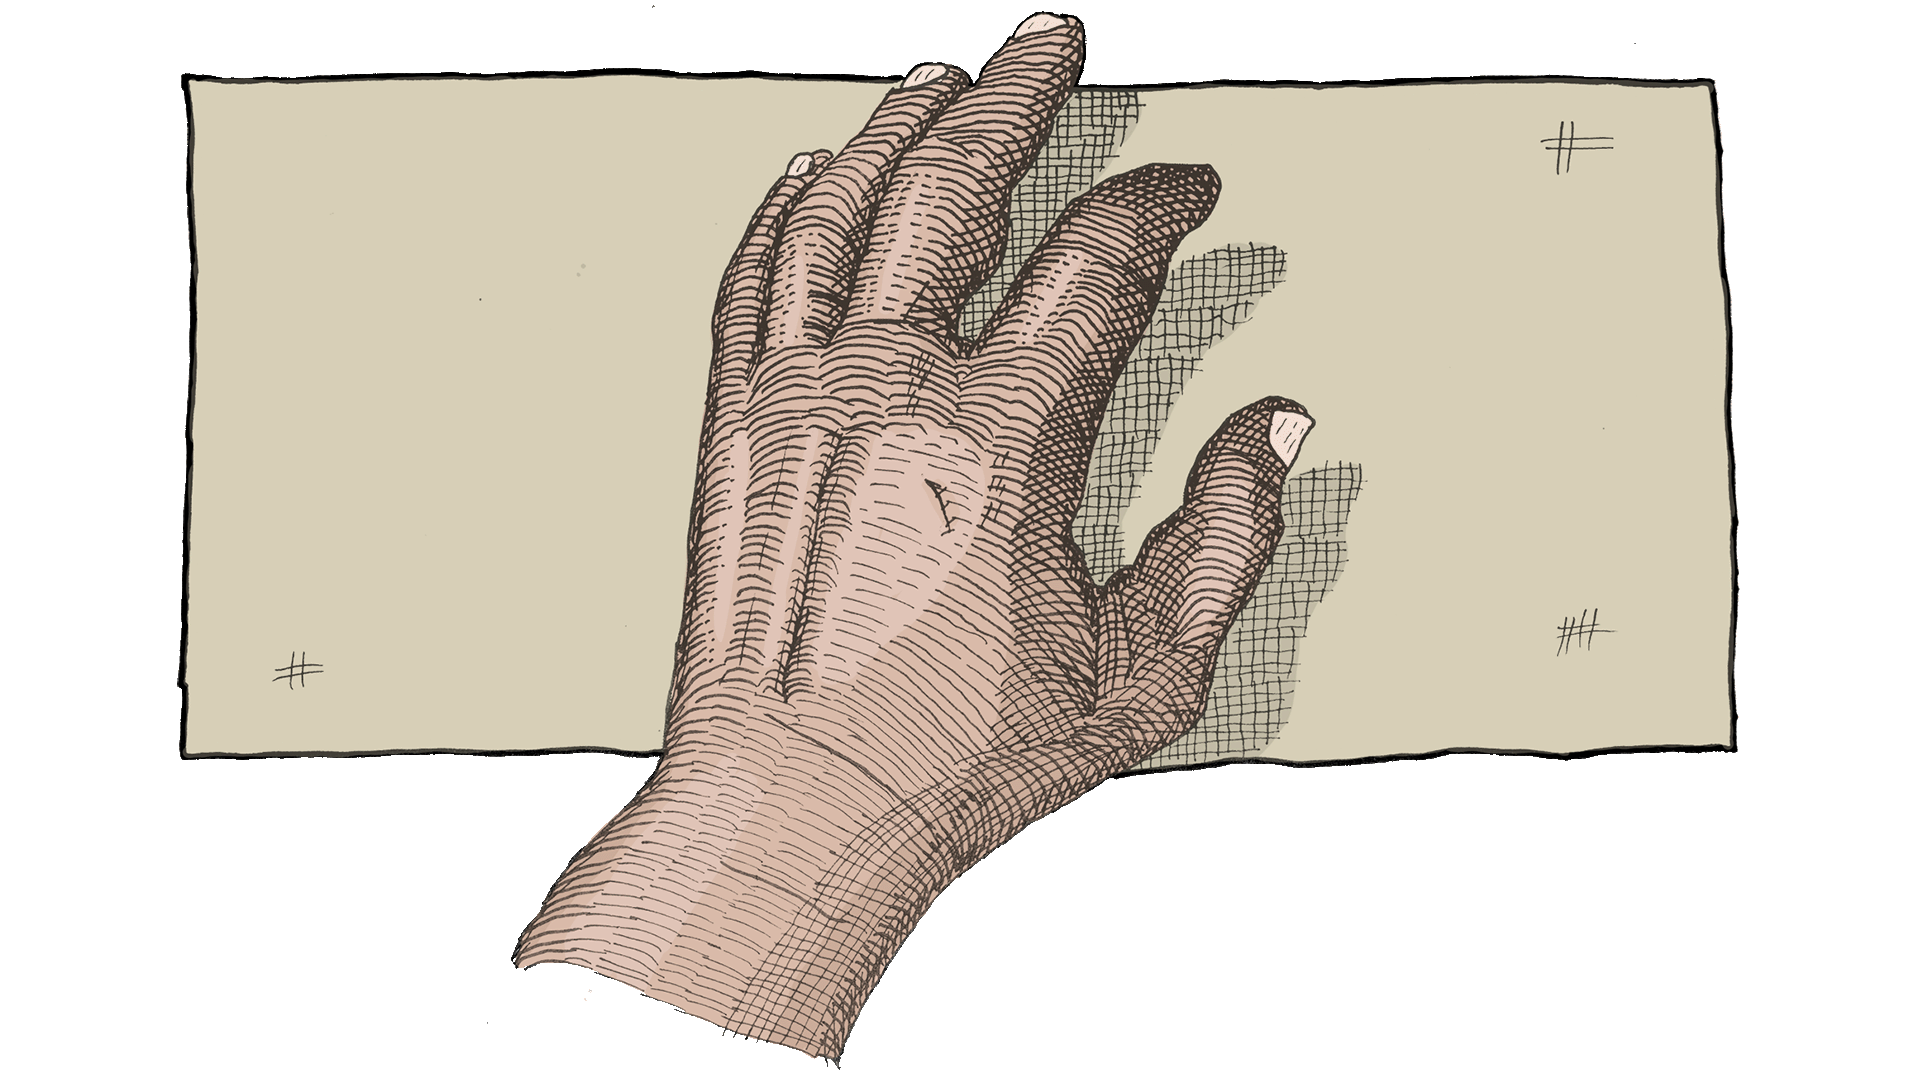
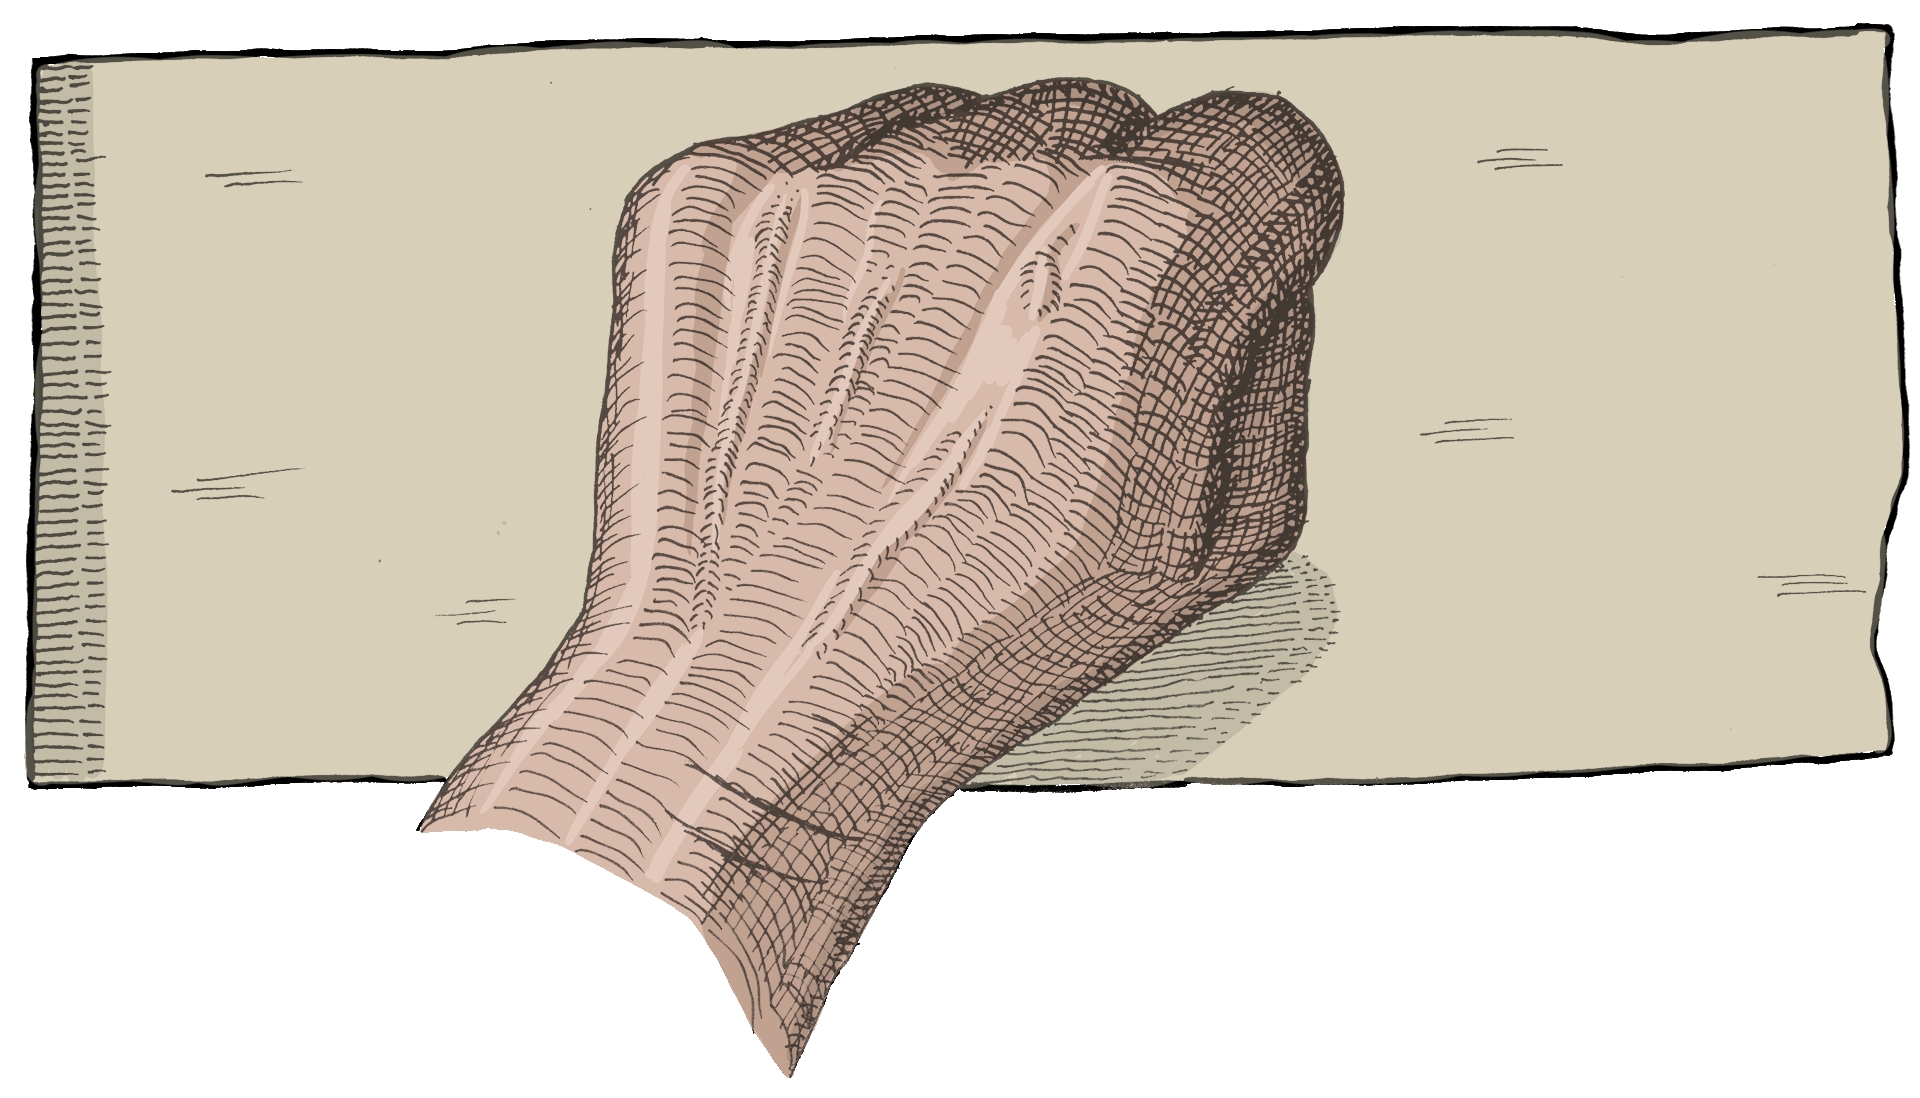
Firstly I took at photo of my hand, so I could view it on a screen. Purists may say I should draw my hand from life, but my objective is not to become good at drawing from life. I’m trying to get better at making 2D images . I then did a pencil sketch of the hand onto a piece of A4 paper whilst at my desk, where I can view the photograph on a big screen. I added the “shadow lines” in pencil, as suggested by the book. Then I attached that drawing to a clipboard and did the inking on my commute. I then photographed the inking and cleaned the photograph up in Photoshop. I imported the cleaned photograph into Procreate on my iPad, made it into the top layer, and added colour layers below:
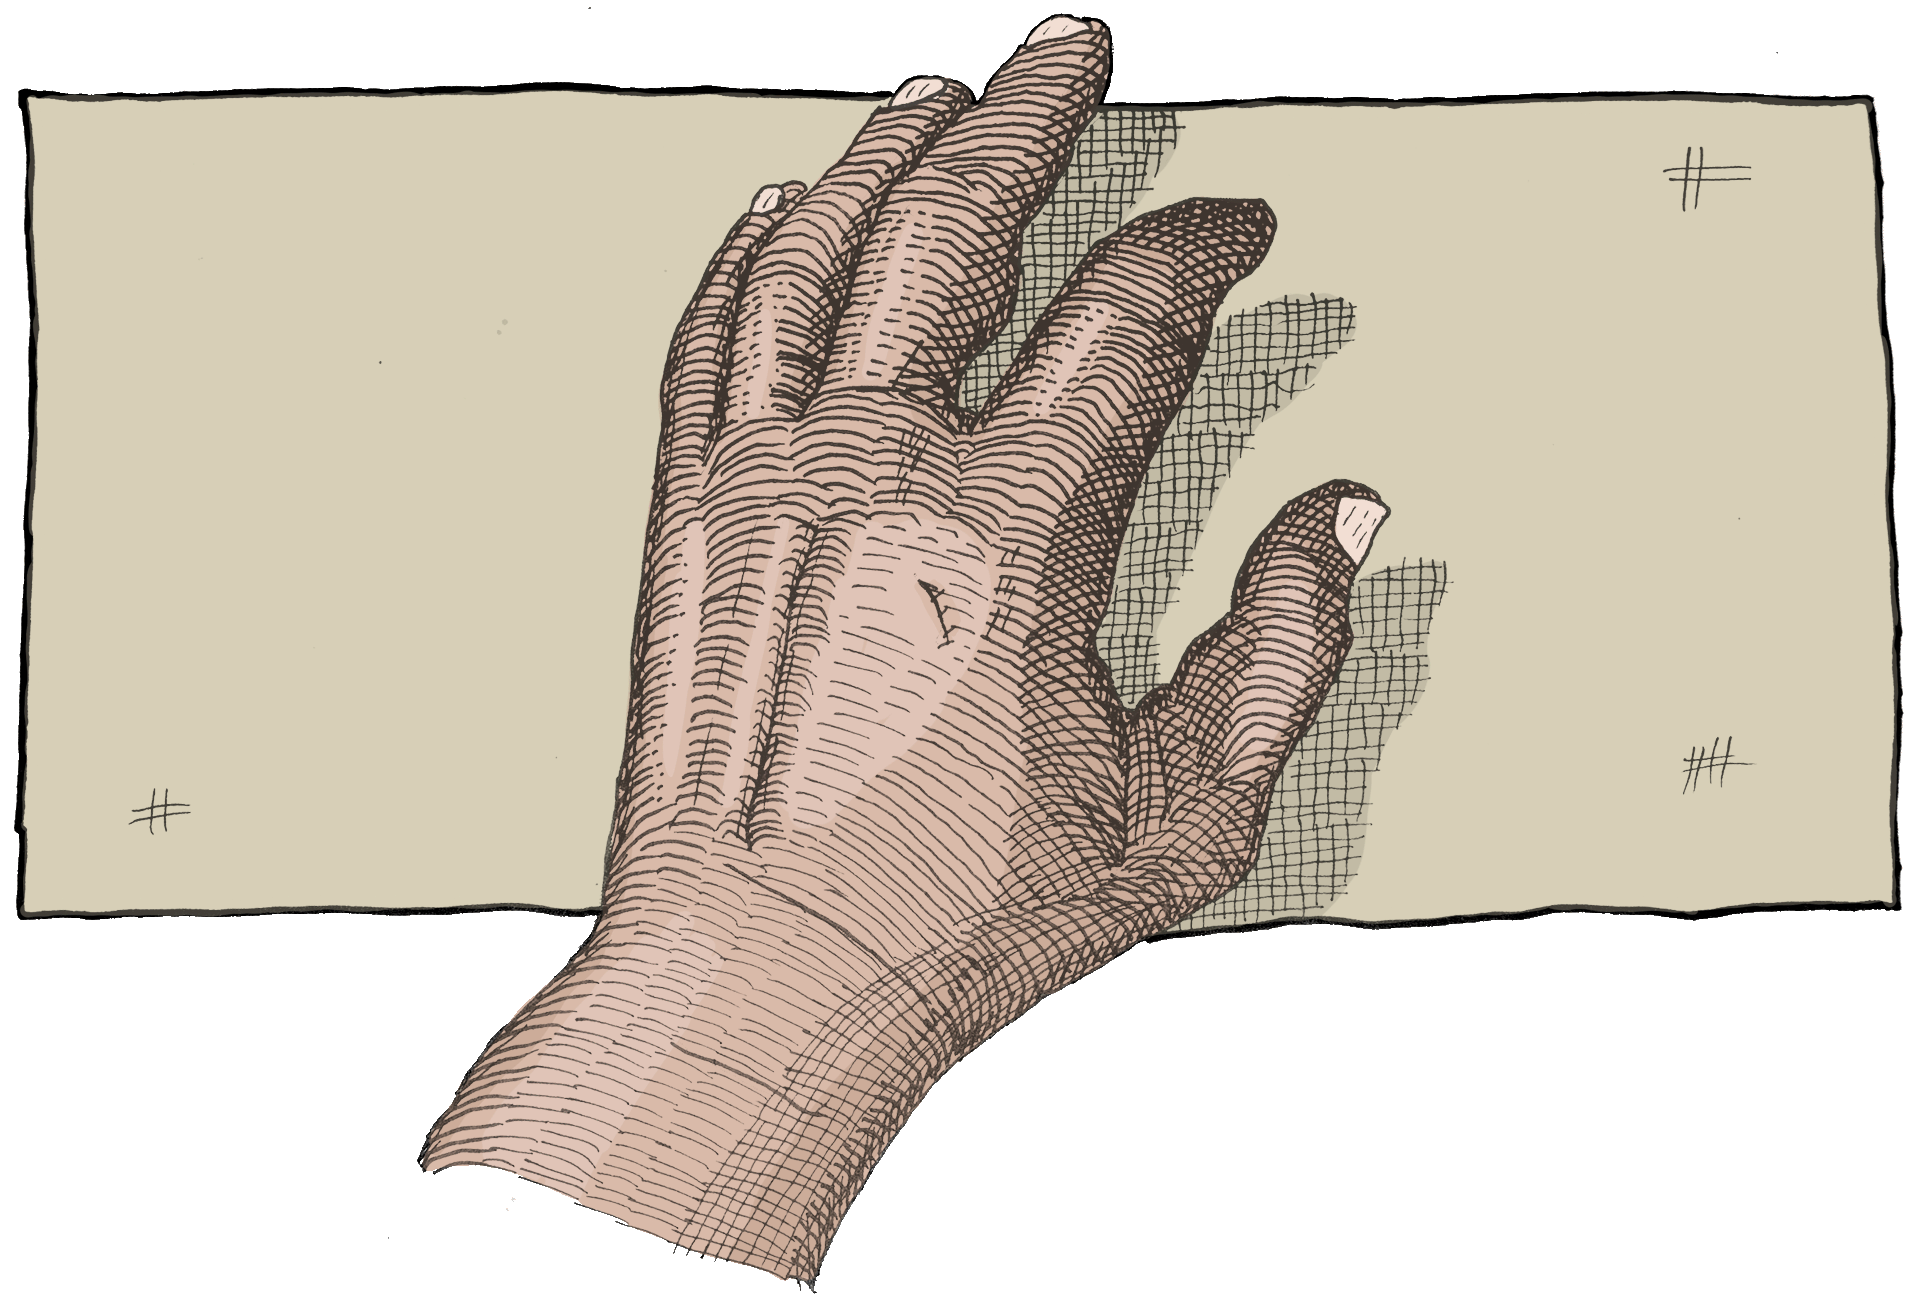
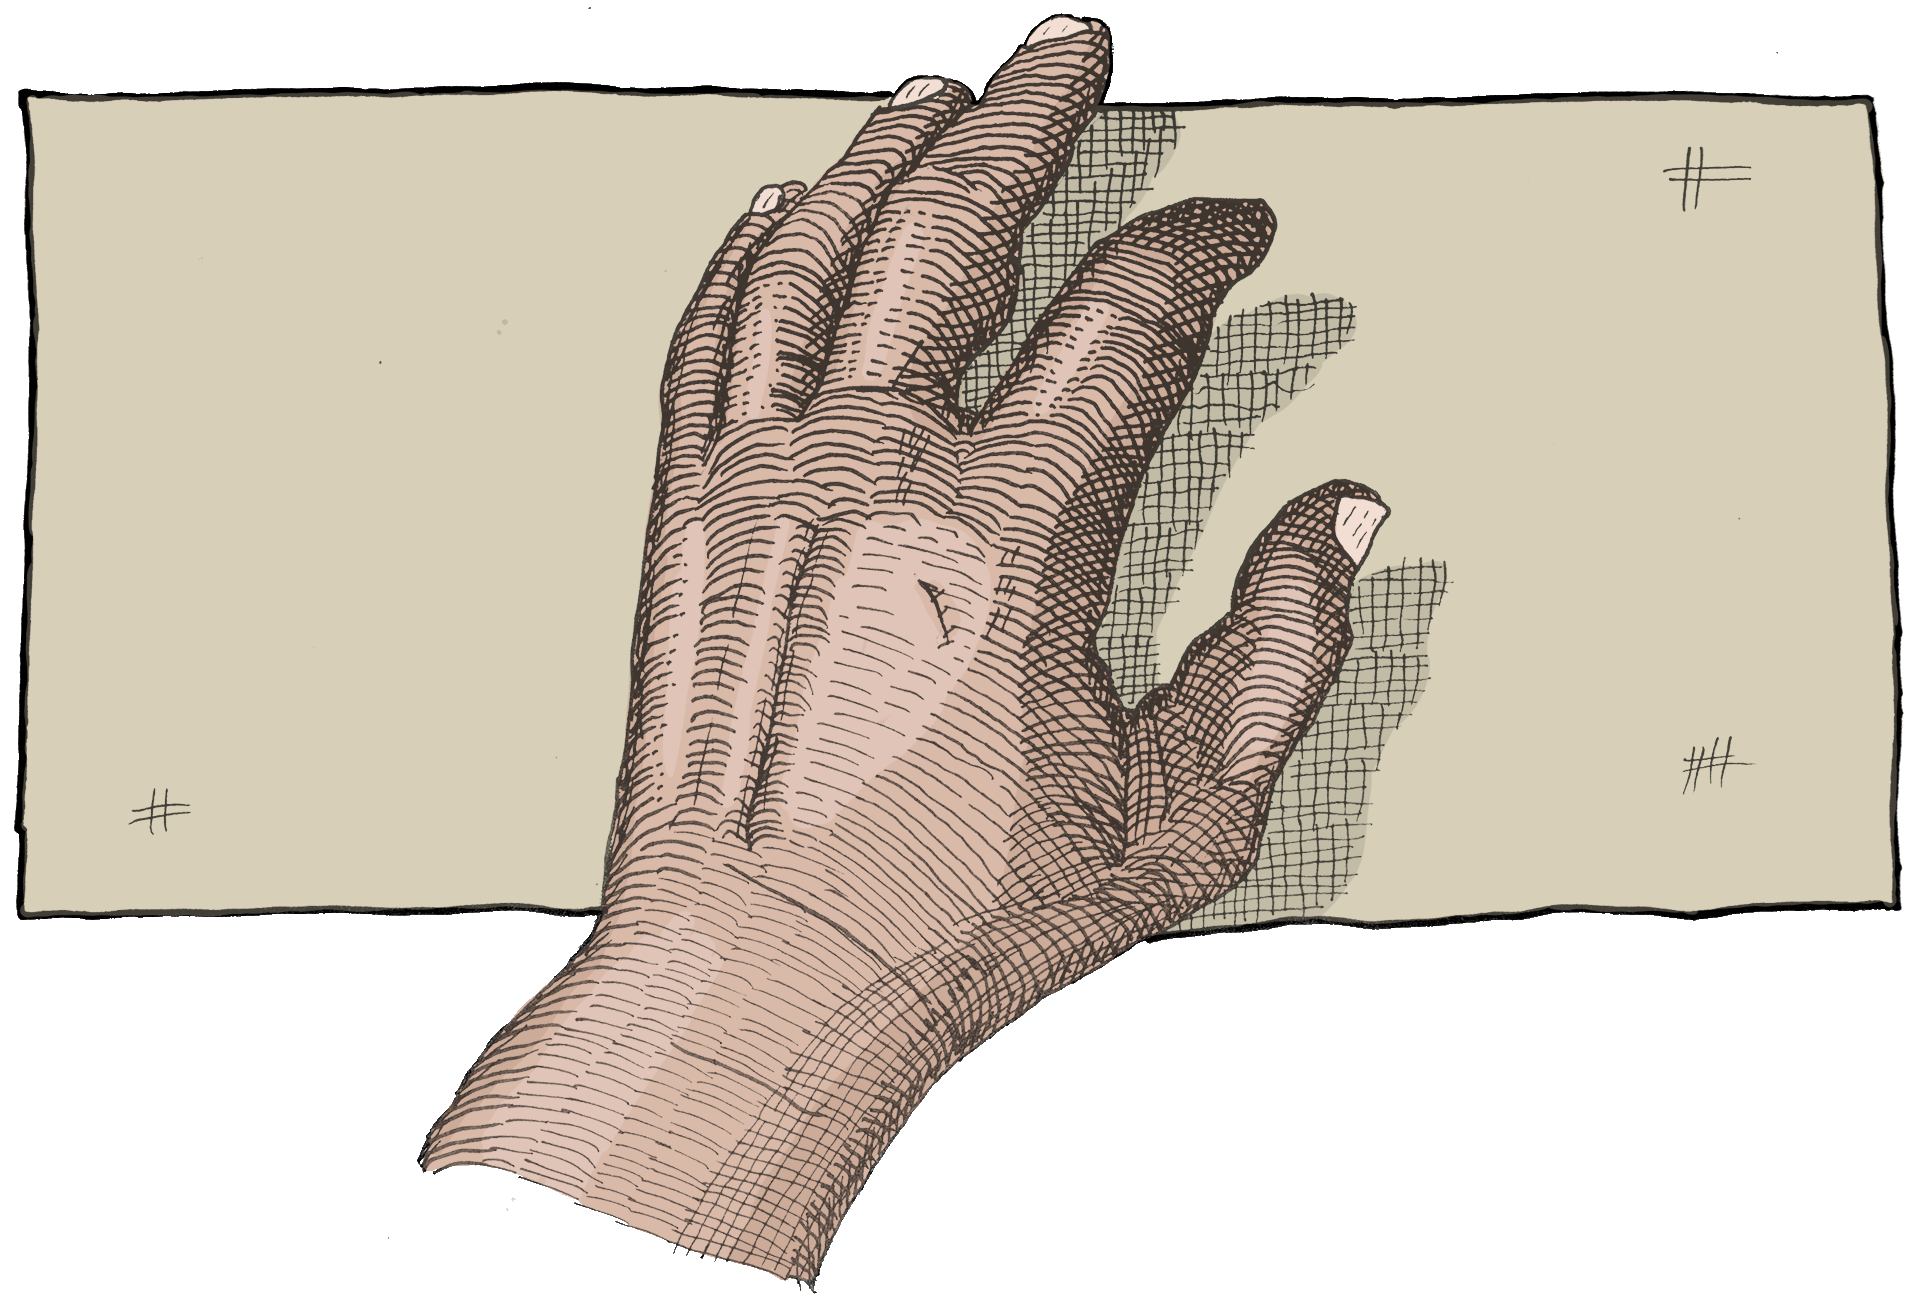
I’m quite happy with that. It certainly looks less crappy than my doodles. But I clearly need to practice more. One issue I found doing the hatching on this image is that I tend to draw my hatching lines too long. It’s hard to keep longer lines consistent (especially on a bumpy train journey). Before doing my second practice hand I referred back to the book and saw that the author left a lot of space between the hatching rows on the surface of the hand, so I did that. I coloring it I also added to the shading. It came out quite well too I think:
My main takeaways from this practice:
- Do pencil work on my drawings using references at my desk before doing the inking on my commute.
- Add “shadow lines” in pencil.
Next I need to try this with faces, perhaps trying to do them realistically at first and then in a more cartoon style.
